
Laptop screen replacement tips usually come down to one question: is the display problem on the panel itself, or somewhere else in the chain (cable, GPU, hinge, motherboard)? If you replace the screen when the real culprit is a loose video cable, you waste money. If you keep using a cracked panel, you may end up with worsening lines, flicker, or glass splinters.
This decision matters because screens are one of the pricier “modular” parts on a laptop, and compatibility is easy to get wrong. A $70–$150 panel can turn into a return headache if the connector, size, resolution, refresh rate, or mounting tabs don’t match.
Below is a practical way to judge when it’s time to replace the screen, when a repair or setting change is enough, and how to avoid the most common “wrong part” mistakes.
Clear signs you should replace the laptop screen
If you only remember one thing, remember this: physical damage almost always means replacement, while intermittent behavior often points to cables, hinges, or power.
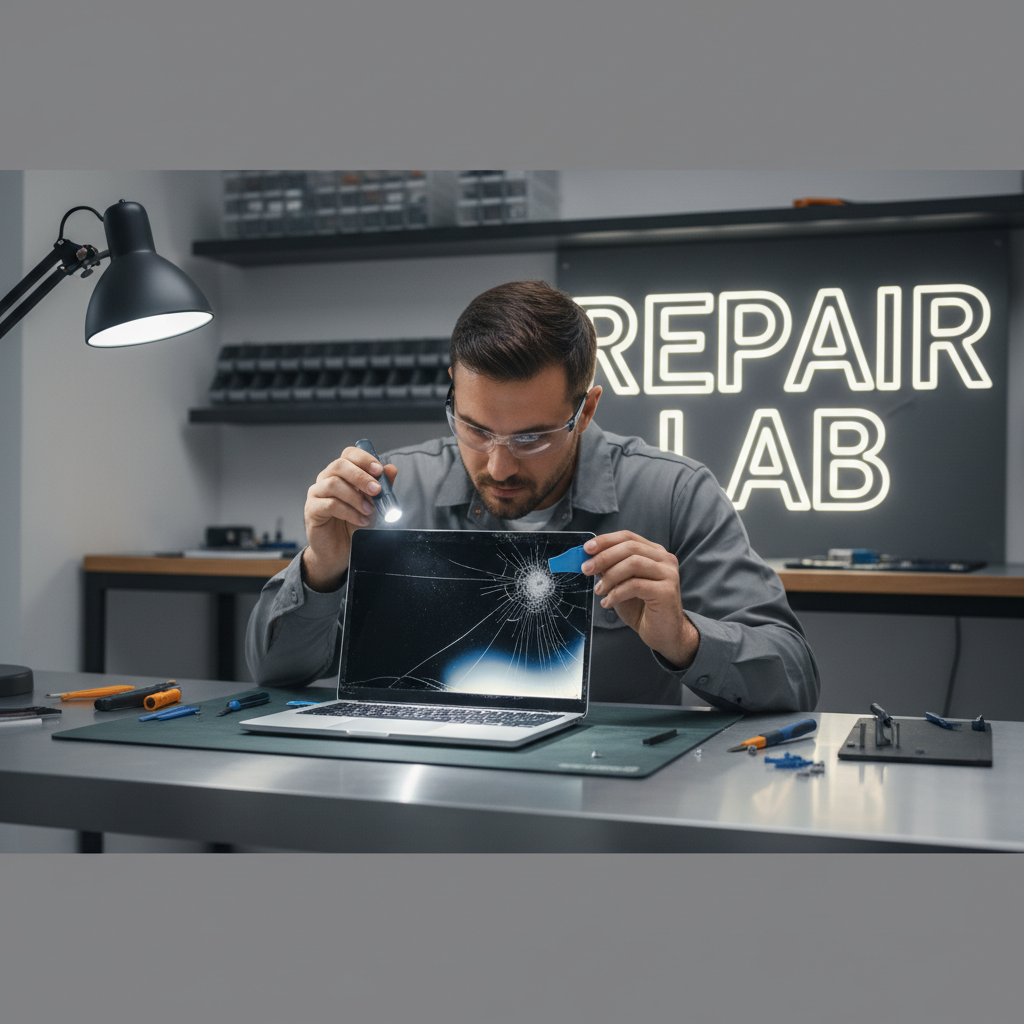
- Cracks, shattered glass, or ink-like blotches that spread: that’s typically a broken LCD layer, not a software problem.
- Black screen with a faint image when you shine a flashlight: often a failed backlight or inverter (on older models). Many modern laptops integrate backlight with the panel, so replacement is common.
- Permanent vertical/horizontal lines that never change with movement: panel failure is likely.
- Large color patches, “burn-in,” or uneven brightness that persists across apps and the BIOS screen: usually panel wear or damage.
- Liquid damage that creates blotches or corrosion marks: drying it out sometimes helps a little, but lasting artifacts often require replacement.
According to Apple Support, if your display shows physical damage or persistent image issues, service may be required rather than software troubleshooting.
When it might not be the screen (and how to tell fast)
Many people jump straight to ordering a panel, but these symptoms often come from something else.
Quick isolation tests
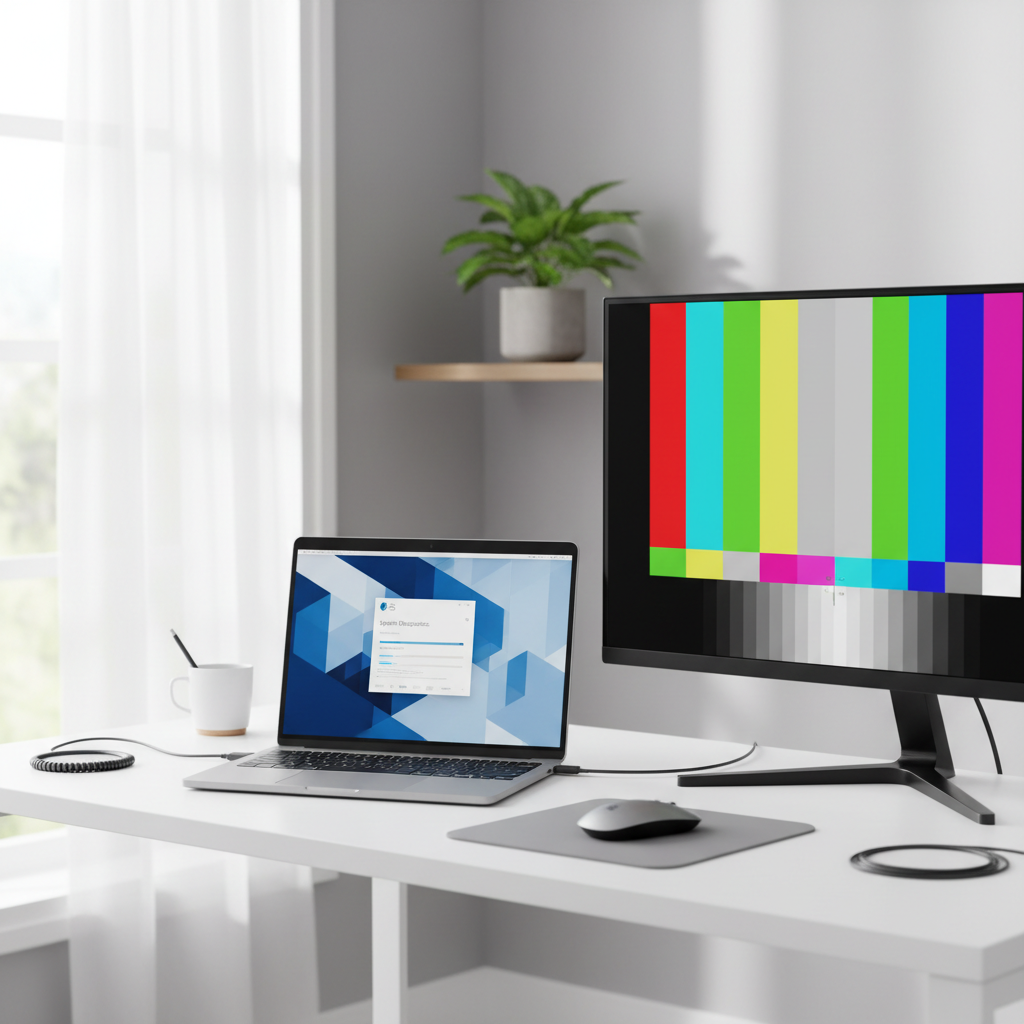
- External monitor test: Connect HDMI/USB-C to a known-good monitor. If the external display looks normal, the GPU is probably fine, and the issue is likely the internal screen, cable, or connector.
- BIOS/UEFI check: If lines or flicker show up in BIOS, it’s rarely a Windows/macOS driver issue.
- Hinge-angle test: If the picture cuts in/out when you open/close the lid, the display cable (eDP/LVDS) or hinge routing is a common culprit.
- Screenshot test: Take a screenshot and view it on another device. If the screenshot looks normal elsewhere, the issue is typically the panel path, not the GPU rendering.
According to Microsoft Support, display problems can be caused by drivers or settings, so it’s reasonable to rule those out before buying parts, especially if the issue started after an update.
Replace vs repair vs “live with it”: a practical decision table
Here’s a realistic way to choose, based on what people typically see at home and what usually makes financial sense.
| Symptom | Most likely cause | What to do first | When replacement makes sense |
|---|---|---|---|
| Cracked glass, spreading black blotch | LCD layer broken | Back up data, stop pressing on panel | Almost always |
| Flicker changes when moving lid | Loose/damaged display cable | Test external monitor, inspect hinge area | If cable reseat/replace doesn’t fix |
| Dim screen, faint image visible | Backlight failure | Brightness keys, power settings, flashlight test | Common on integrated panels |
| Dead pixels (few dots) | Panel defect/wear | Check warranty policy | If distracting or increasing |
| Color tint, uneven brightness | Panel aging or calibration issue | Reset color profile, OS calibration | If persists in BIOS |
If your laptop is older and the replacement cost approaches a big chunk of the laptop’s current value, it may be smarter to put that money toward a newer system. But if the machine still runs well and the screen is the only issue, a panel swap can be a very reasonable fix.
Compatibility checklist before you buy a replacement panel
This is where most DIY repairs go sideways. Use this checklist even if you already found “the same model number” on a marketplace listing.
- Exact laptop model and sub-model: the same product line can ship with different panels.
- Screen size: 13.3, 14.0, 15.6 inches, etc.
- Resolution: 1366×768 vs 1920×1080 vs 2560×1600, and so on.
- Connector type and pin count: commonly 30-pin or 40-pin eDP, and the connector position may differ.
- Refresh rate: 60Hz vs 120/144Hz on gaming laptops.
- Finish: matte vs glossy, plus touch vs non-touch (often not interchangeable).
- Mounting brackets/tabs: some panels are “slim” with different mounting.
- Part number on the back of the panel: if you can access it safely, it’s the most reliable match.
Key point: “Fits” is not the same as “fully compatible.” A mismatched panel might light up but run at the wrong brightness, have no webcam cutout alignment, or drain battery faster.
DIY laptop screen replacement tips (safe, realistic steps)
If you’re comfortable with small electronics, a screen swap is usually one of the more approachable laptop repairs, but the thin bezel and fragile connectors punish rushed work. These laptop screen replacement tips focus on avoiding damage rather than speed.
Tools you typically need
- Small Phillips screwdriver (and Torx if your model uses it)
- Plastic pry tools or guitar picks (avoid metal on bezels)
- Tweezers (optional)
- Microfiber cloth and isopropyl alcohol (for adhesive residue)
- ESD caution: if you have an anti-static strap, use it
Step-by-step approach
- Power down fully, unplug, and if possible disconnect the battery (or disable internal battery in BIOS on some models).
- Remove the bezel carefully: hidden clips and adhesive strips are common, slow pressure beats force.
- Support the panel as you remove screws; don’t let it hang by the cable.
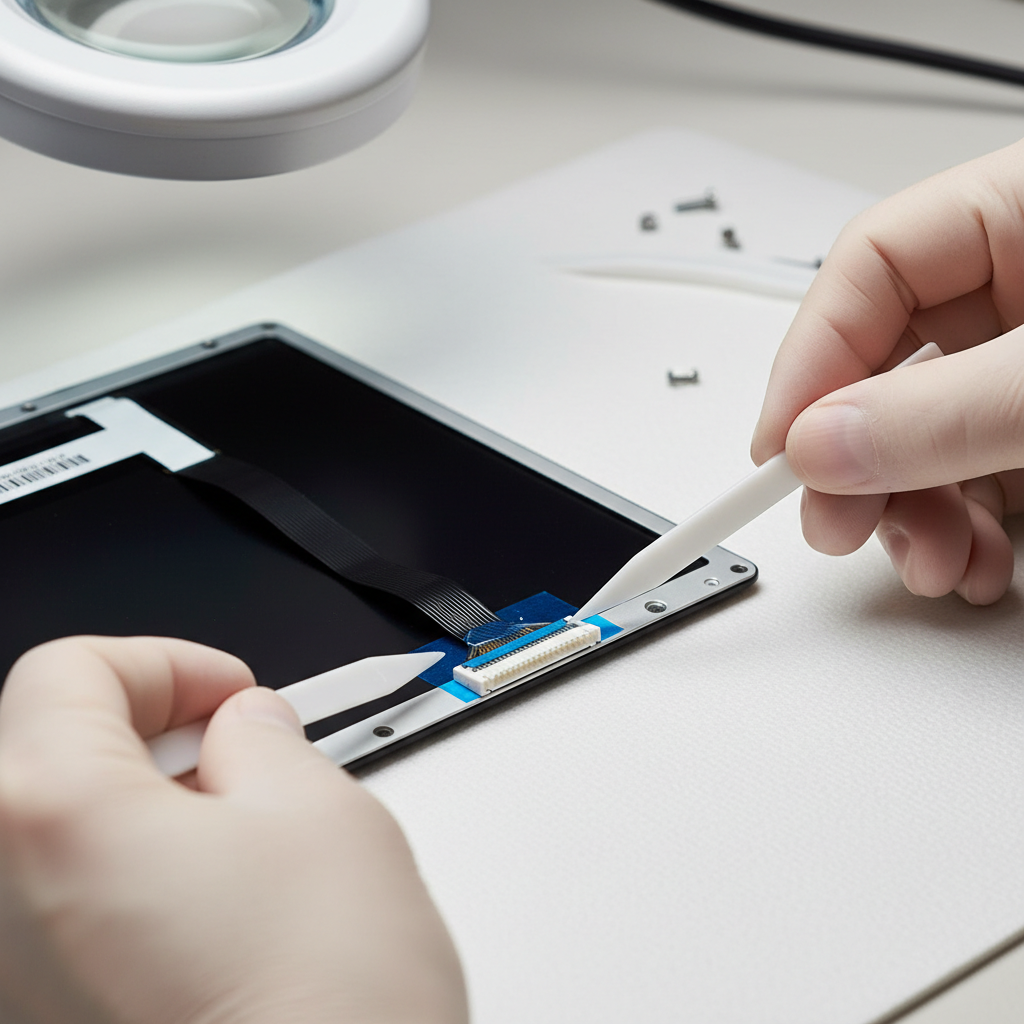
- Disconnect the display cable by lifting tape and pulling straight, not at an angle.
- Test before reassembly: connect the cable, power on briefly, confirm image and brightness, then finish reassembly.
According to iFixit, careful disassembly, correct tools, and model-specific guides reduce the chance of breaking clips or tearing cables during screen repairs.
Common mistakes that make a simple job expensive
Most screen replacement failures aren’t mysterious, they’re small avoidable moves.
- Buying by laptop name only: you want the panel part number or a verified compatibility list.
- Forgetting touch vs non-touch: touch assemblies may require a different lid or extra digitizer layers.
- Skipping the “test before closing” step: reopening a freshly clipped bezel is where clips snap.
- Prying too aggressively near the webcam/mic area: that section often hides thinner plastic and adhesive.
- Not checking return policy: dead-on-arrival panels happen, especially with long shipping chains.
If you’re collecting your own laptop screen replacement tips, add this: take photos as you go. Not for social media, just so you can put tape routing and screw lengths back where they belong.
When to stop DIY and use a repair shop
There’s no shame in outsourcing this. In a few scenarios, a shop is usually the lower-risk path.
- Glass-only damage on bonded displays: some laptops require replacing the entire top assembly, and separating layers can be risky.
- Liquid spill with corrosion: the screen might not be the only casualty, and a technician can inspect board-level damage.
- Warranty or accidental damage coverage: opening the device may complicate a claim, check your terms first.
- Very new models with hard-to-source panels and calibration requirements.
If you suspect swelling battery, burning smell, or overheating, power down and consider professional help, since those issues can be safety-related.
Key takeaways and a sensible next step
If you see cracks, spreading black spots, or permanent lines, replacement is usually the honest answer. If the issue changes when you move the lid, spend time on cable and hinge checks before ordering parts. And if you do decide to replace, treat compatibility as the main job, not an afterthought.
Action steps: run the external monitor test today, then confirm your panel’s part number or full specs before you click “buy.”
FAQ
How do I know if I need a screen replacement or just a new cable?
If the image cuts in and out when you change the lid angle, a cable or connector is a common cause. Permanent cracks, blotches, or lines that never change point more to the panel itself.
Are laptop screen replacement tips different for touchscreens?
Yes, many touch models use a bonded assembly and may require replacing more than the LCD panel alone. Compatibility checks matter more because thickness, brackets, and digitizer connections vary by model.
Can a laptop screen be repaired without replacing it?
Minor issues like loose connections, some backlight-related faults on older designs, or software color settings may be fixable. Physical cracks and internal LCD damage typically aren’t practical to “repair” at home.
Is it safe to keep using a laptop with a cracked screen?
In many cases it still works, but cracks can worsen, and sharp edges or glass fragments are possible depending on the build. If the crack is spreading or the panel is shedding debris, consider replacing sooner and handle with care.
What should I check before ordering a replacement panel online?
Match size, resolution, connector type/pin count, refresh rate, finish, and whether it’s touch. If you can confirm the panel part number from the back of the screen, that reduces mismatches.
Why does my screen go black but the laptop is still running?
It could be backlight failure, a loose display cable, sleep/power settings, or in some cases GPU issues. The flashlight test and external monitor test usually narrow it down quickly.
Will replacing the screen fix flickering?
Sometimes, but not always. Flicker that changes with lid movement often traces back to a cable or hinge pinch; steady flicker across positions may be panel aging, power delivery, or driver-related.
If you’re trying to decide between repair and replacement and want a more straightforward path, bring your laptop model details and the symptoms list to a reputable local shop, they can usually confirm panel vs cable quickly and help you avoid ordering the wrong part.